

A Netgear powerline adapter helps you use the existing electrical wiring in your home to extend internet signals. Powerline devices have two or more adapters that are plugged in to different parts of the home. One adapter is connected to the main router and the second adapter connects to the client device. Internet signals are transmitted using the electrical wires in the home. This post will help you complete Netgear Powerline 1000 setup in your home. Go on reading further to know more about it.
How to Set Up Netgear Powerline 1000?
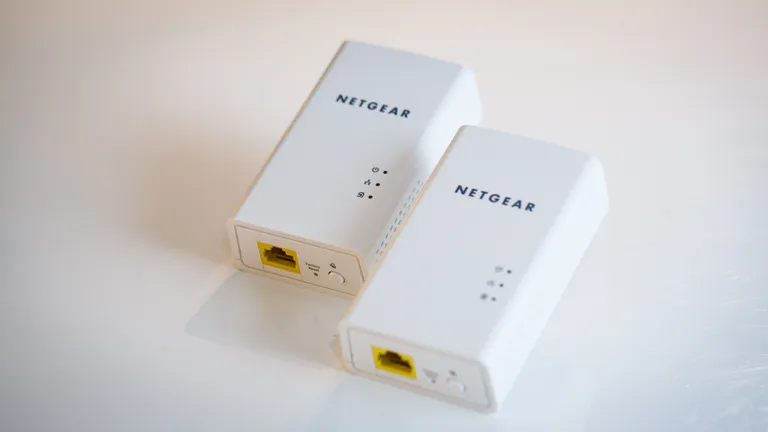
This section will help you complete the setup of your Netgear Powerline adapter in two different ways. One is manual method and the second is using WPS.
Here are the steps that you should use to complete the setup of your Netgear Powerline device using manual process:
Step 1: Plug the Adapter 1
You have two adapters in the package. Take one plug (Pick A) and plug it into a wall outlet in one room. Make sure you are plugging it in directly. Do not use an extension cord, surge protectors etc. Otherwise the device may not work as intended.
Wait until the LEDs are lit and solid.
Step 2: Connect it to the Router
With the help of a LAN cable, connect the plug A with the WiFi router. Verify that the connection that you have made is well in place. Next, switch on the router and let it boot up completely. The devices can also connect wirelessly.
Step 3: Plug in Adapter 2
Now, take the second Powerline adapter and plug it in to another wall outlet. Plug it somewhere else. You can plug it in another room where you want to connect to the internet. For instance, select a room where you have computer on which you want to use router’s internet. Let the LED on the adapter turn solid.
This completes the setup of your Netgear Powerline 1000 adapters. You can connect to the second Powerline adapters WiFi using SSID Netgear **_EXT. You can also connect to it using a LAN cable.
There is one more way that can be used to set up the Netgear Powerline adapter. You can connect using WPS. Use the steps given ahead.
Setting Up Netgear PowerLine via WPS
- Plug the power line adapter first.
- Pres the WPS button on the adapter and hold it for 2 seconds.
- Release the button.
- Next, press the WPS button on the WiFi router for 2 seconds and release it.
- Wait till the WiFi LED stops blinking.
The Netgear Powerline adapter 1000 is now configured and is ready to be used. You can connect to its network now and enjoy seamless WiFi.
How to Customize the Settings of Powerline?
After the setup is done you can customize its settings. You can easily manage your Powerline using its web interface.
To change the settings of your Netgear Powerline adapter, you can use its web interface on a browser. You should power on the Netgear Powerline and then connect your computer to its network. Then access its admin dashboard using mywifiext.net. On the login screen, input the username and password of Netgear login account. Click on Log In and you will be logged in to the admin dashboard of Netgear Powerline.
You can now make changes to the settings as per your requirements. Check for firmware updates and get the adapter updated right away.
In the End
This way you can complete the setup of your Netgear Powerline 1000 device. The Powerline adapters are an alternative way to extend the existing network coverage using the electrical wiring of the home. There is one more way that can be opted for to extend the router’s range. You can invest in a Netgear wireless range extender. The WiFi extender takes in the signals from the router and transmits them further increasing the network coverage. It is completely your choice whether to choose a Powerline adapter or WiFi range extender.