

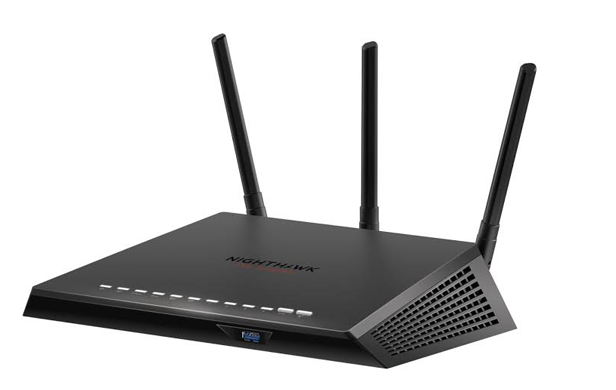
If you are wondering about why you need to change the default settings of your Netgear wireless router, then the answer is quite simple: your WiFi network needs to stay protected from unauthorized users. Surely you wouldn’t want hackers to steal your personal information, isn’t it?
With the help of this article, you will become familiar with the guidelines to change different settings (network name, password, and wireless channel) of your home router via www://routerlogin.net. So, let’s get started, shall we?
Steps to Change Password of Netgear Router
To change the default password of your Netgear wireless router, mentioned below are the instructions that you need to follow:
- Grab an Ethernet cable and use it to establish a connection between your Netgear router and the existing modem. You can also connect them wirelessly. The choice is totally yours.
- Once done, launch a web browser on your computer. Just make sure that it is running on its updated version.
- In the address bar of the web browser, enter the default web address of your router.
- Press the Enter key to access the Netgear router administrative page.
- When prompted, enter the default username and password of your router.
- Click Log In.
- Once logged in, head over to the Settings menu.
- Click Wireless Settings.
- Once the Wireless Settings page comes into view, click the ‘Password’ option.
- Type the new password you want your device to have under the Password field.
- Click Apply.
- When asked for confirmation, click the ‘Yes’ button.
- Wait for the changes to become effective.
In this manner, you will be able to change the default password of your Netgear router.
Steps to Change the Network Name (SSID) of Netgear Router
Here is how you can change the network name of your Netgear wireless router:
- Ensure that your device is receiving an adequate power supply from the wall socket.
- Switch on your computer and open up an internet browser on it.
- Log in to your Netgear router using the default login credentials.
- As soon as the Netgear router login page displays, click the Settings option.
- Enter the new network name under the SSID field.
- Do not forget to click Save. Otherwise, your changes will not become effective.
By following these steps, you will easily be able to change the network name of your Netgear router.
Note: If you want to use a different method to change the network name (SSID) of your Netgear wireless router, then consider opting for the Nighthawk application.
Steps to Change the Wireless Channel of Netgear Router
Follow the steps outlined below and learn how to change the wireless channel of your Netgear router:
- Switch on your PC.
- Launch an internet browser.
- In the URL bar of the internet browser, carefully enter routerlogin net.
- Press the Enter key.
- You will be taken to the Netgear router administrative page.
- When prompted, fill in the default username and password of your wireless device.
- Click Log In.
- The BASIC Home screen will display.
- Click Wireless Settings.
- Go to the Region menu and select your Region.
- Select the Channel that you want to switch to and hit Apply.
- In a few seconds, your changes will become effective.
This is how you can change the wireless channel of your Netgear router by accessing the BASIC Home screen.
Conclusion
And we are done! We hope that after following the troubleshooting tips mentioned above, you will be able to change the network name, password, and wireless channel of your Netgear router. Now, no other unauthorized user will be able to access your network and steal your personal data without your consent.