

There comes many instances when you need to reset Rock space WiFi extender. For example, you may need to reset your extender if you forget the login password. Or if your extender is performing very poor then you may reset it. The reset process of the Rockspace extender is very easy. But still, many users report that they can’t carry on with the process. They get stuck during the process for some reason. Let us help you fix this issue.
How to Reset Rockspace Extender?
Before you learn about how to reset the Rockspace extender, know what will happen after you reset it. Once you reset your device, the current settings on it get deleted. The default factory settings get restored on it. We shall now proceed towards resolving the issue that you are correctly facing. Make sure you are using the correct steps to reset the extender. Here is how you can do this:
Rockspace Extender Hard Reset
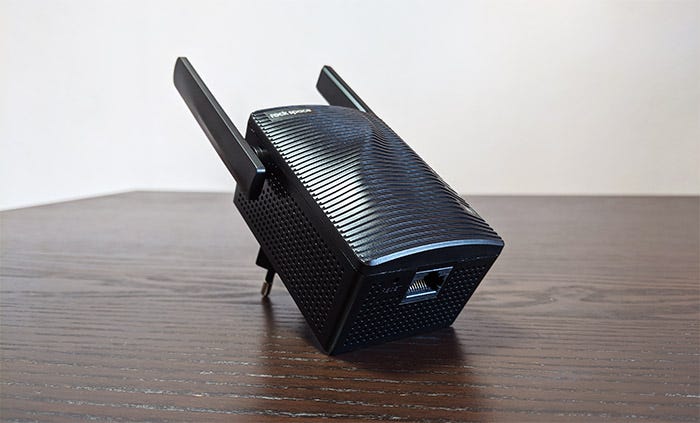
- Plug the Rocksapce WiFi extender into an active wall socket.
- Turn the power button on.
- Wait till the extender is booted up completely.
- When the lights are stable on the extender, you can go for the next step.
- Locate the Reset button on it.
- Found? Push it now.
This is how you can reset the extender using the Reset button.
Make sure that you are following all the steps correctly and also that you are pressing the correct button on the extender.
Apart from this, make sure that the power supply to the extender is adequate.
If by using this method and using these tips, you still can’t reset your extender, then there is one more method that you can use to reset your Rockspace extender.
Rockspace Extender Reset via Web GUI
While you are performing this process, make sure that the power supply and the internet connection are stable. To ensure a proper power supply, use an active wall socket and plug the AC adapter properly into it.
To ensure a stable internet connection, you should know how to connect Rock space WiFi extender to the router. In case, you are wondering what we are talking about then let us tell you that you need to connect the extender to the router using an Ethernet cable. This is because a wired connection between these devices will make sure there is no or minimum network loss.
Once you are done with this, follow the steps provided ahead to reset your extender:
- Power up the Rockspace WiFi extender by plugging it into an active wall socket.
- Connect it to the router using the Ethernet cable as discussed above.
- Plug the host router as well. Wait till the lights are stable.
- Now get access to your computer or a laptop. Turn it on. If it has not been updated then consider updating its OS right now.
- Fire up an internet browser on it that is compatible with the Rockspace WiFi extender login web address. Moreover use an updated web browser. If it is not updated then do it now.
- Type the login web address of the Rockspace extender right into the address bar of the browser now.
- Hitting Enter will help you direct to the login page of the Rockspace extender.
- You will be prompted to type the login details here.
- Enter the admin details carefully without making any typing errors.
- Click on OK or Login.
- You will reach the Rockspace extender admin panel.
- Go to the extender Settings now.
- Find the button named Factory Reset here. Once you have located it, click on it.
- Click on Yes when prompted with a confirmation message.
Your Rockspace WiFi extender will be reset in no time. Wait till the entire process is completed.
The Conclusion
We are sure that now you have successfully reset your Rcoskapce WiFi extender. Your extender is now running with the factory settings restored to it. You now have to set it up again with the home network. You can refer to the user manual to know how to set up your extender. Make sure that you are using the correct steps to get through the process so that you don’t get stuck again.