

Netgear Nighthawk is a router network devices series that provides WiFi 6 and dual band features to the users worldwide. These network devices can be connect to any modem, range extender or any other network device.
It is a network device that can install pretty easily and provide fast speed. In this article, we will give you a simple and short review of the Nighthawk WiFi router. We start with the package content, troubleshooting tips and installation process through Nighthawk login interface.
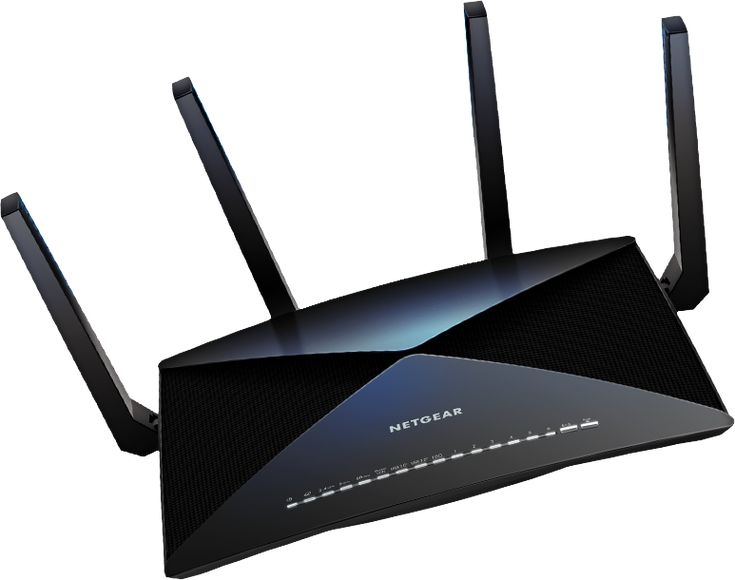
Package Content: Nighthawk WiFi router
Here in this section, you will find out what Netgear WiFi router provides as accessories in the box. Let’s see at a list we have made down here.
- In the package accessories box, you will find router main unit and Ethernet cable for connection with modem.
- Power cord and antennas are also comes with the router to supply power to the router and make the WiFi signals reach longer distance.
- A user manual also added to the WiFi router device box to setup the Netgear Nighthawk WiFi router.
So, these are the router accessories that help you to the setup your Nighthawk router. No, let’s see some troubleshooting tips that you should apply before starting the router setup.
Troubleshooting Tips: Nighthawk WiFi router
There are some of the tips that you must follow during and before the installation process starts. Let’s list these tips down here.
- Networking interruptions can trouble you with technical issues like router is not connected to internet.
- So, you must choose the optimal spot in your house that is far from the electronic devices.
- Make sure all the accessories in the box are in good condition. If you found anything damaged or cut, then call the customer support.
- In the middle of the installation process, you have to use the computer web browser to get access interface of the router.
- The web browser must be up to date, so that you won’t face any technical problem in the process.
Now, let’s have a look at the section which contains the installation steps; hardware setup and accessing the interface process.
Installation: Nighthawk WiFi router
In this part of the article, you will learn how to install the Netgear Nighthawk WiFi router in your home with the help of some simple steps.
Hardware Installation Process
- Place the router close to your home modem and far away from the electronic devices.
- Find LAN port of the modem and WAN port of the Netgear Nighthawk WiFi router.
- Now, you have to use the Ethernet cable and insert it the founded ports to make the physical connection.
- It is time to turn on the router and modem by plugging power cords in the wall socket and pressing the power buttons.
Adjust Settings And Networks
- After turning up the networks of the router, you have to adjust the settings and update the networks connected with it.
- To do mentioned task, connect your computer with the router with the help of the LAN cable.
- Open browser in computer and search the routerlogin.net or IP address 192.168.1.1.
- The computer screen will load the interface login page, here you have to type in the username and password.
- You will find the login credentials in the user manual of the WiFi router, just enter them and click the Next button.
- You will get to the interface dashboard, where you can change the settings and update and networks easily.
End Words
Here you have learned how to setup Netgear Nighthawk WiFi router with the help of Nighthawk router login interface. We have also added package accessories and troubleshooting tips sections to make the installation process easier.