

There are times when a user is forced to reset their WavLink extender. The reasons behind executing the reset process can be many. Be it improper WavLink extender setup or unable to set up the extender, can’t update extender’s firmware, ap.setup not working, can’t access Wifi.Wavlink.com, extender connected but no internet, etc.
These are just a few examples! There can be many more that have led you to reset your WavLink extender. Relax! No matter what would be the reason behind resetting the extender, know that we have got you covered! In this article, we have penned down a few easy instructions that will help you in resetting the extender along with one of the easiest methods to configure it. Why easy method? Because we understand what you have been through! You are already affected by numerous issues with your range extender, and we don’t want to push you into one bigger situation i.e. perform Wavlink extender setup process using difficult steps. Hence, without much delay, let’s get the ball rolling!
Steps to Reset WavLink Extender
First, we will guide you on how to reset your WavLink extender. After resetting the extender in a successful manner, you will be able to set it up from scratch.
The instructions to reset the extender are right here:
- First things first, disconnect your router, PC, laptop, or mobile phone from your WavLink extender.
- After disconnecting them from each other, wait for 2 minutes.
- Once, 120 seconds are over, locate the reset hole on your range extender.
- Take a paper clip now. Press the reset hole/ button on your WavLink device and hold it for 10 seconds.
Do not use any sharpened or pointed object to press the reset hole of your range extender.
Fab! In this manner, you can reset your WiFi range extender while relaxing on your couch. Now, head over to the next section. Over there, you will find the easiest method to set up the WavLink extender.
WavLink Extender Setup using WPS Method
WPS i.e. WiFi-Protected setup is one of the easiest methods to perform WavLink extender setup process from the comfort of your home.
The instructions to set up the extender via WPS procedure are as follows:
- Place your WavLink extender and your host router in reach of each other.
- Then, you need to press the WPS button on your router.
- Within a minute or two, you need to press the WPS button on your WavLink WiFi extender.
In short span of time, the devices (router and modem) will be paired using the WPS method. Now, you can connect your client devices to the extender’s WiFi and enjoy the super-fast internet speed even in those areas of your house where you haven’t accessed the WiFi before.
If you don’t want to perform the WavLink extender setup process using the WPS method, then you can go with the manual method instead. Just log in to your extender using Wifi.Wavlink.com, access the extender setup page, and get the complete WavLink extender manual instructions to configure the device.
On the off chance, Wifi.Wavlink.com doesn’t work, then make sure that your client device is connected to your extender either wirelessly or using a wired source for installing WavLink extender using the web address in a hassle-free manner.
Also, you must take care of typing errors to prevent Wifi.Wavlink.com not working issue.
In a Nutshell
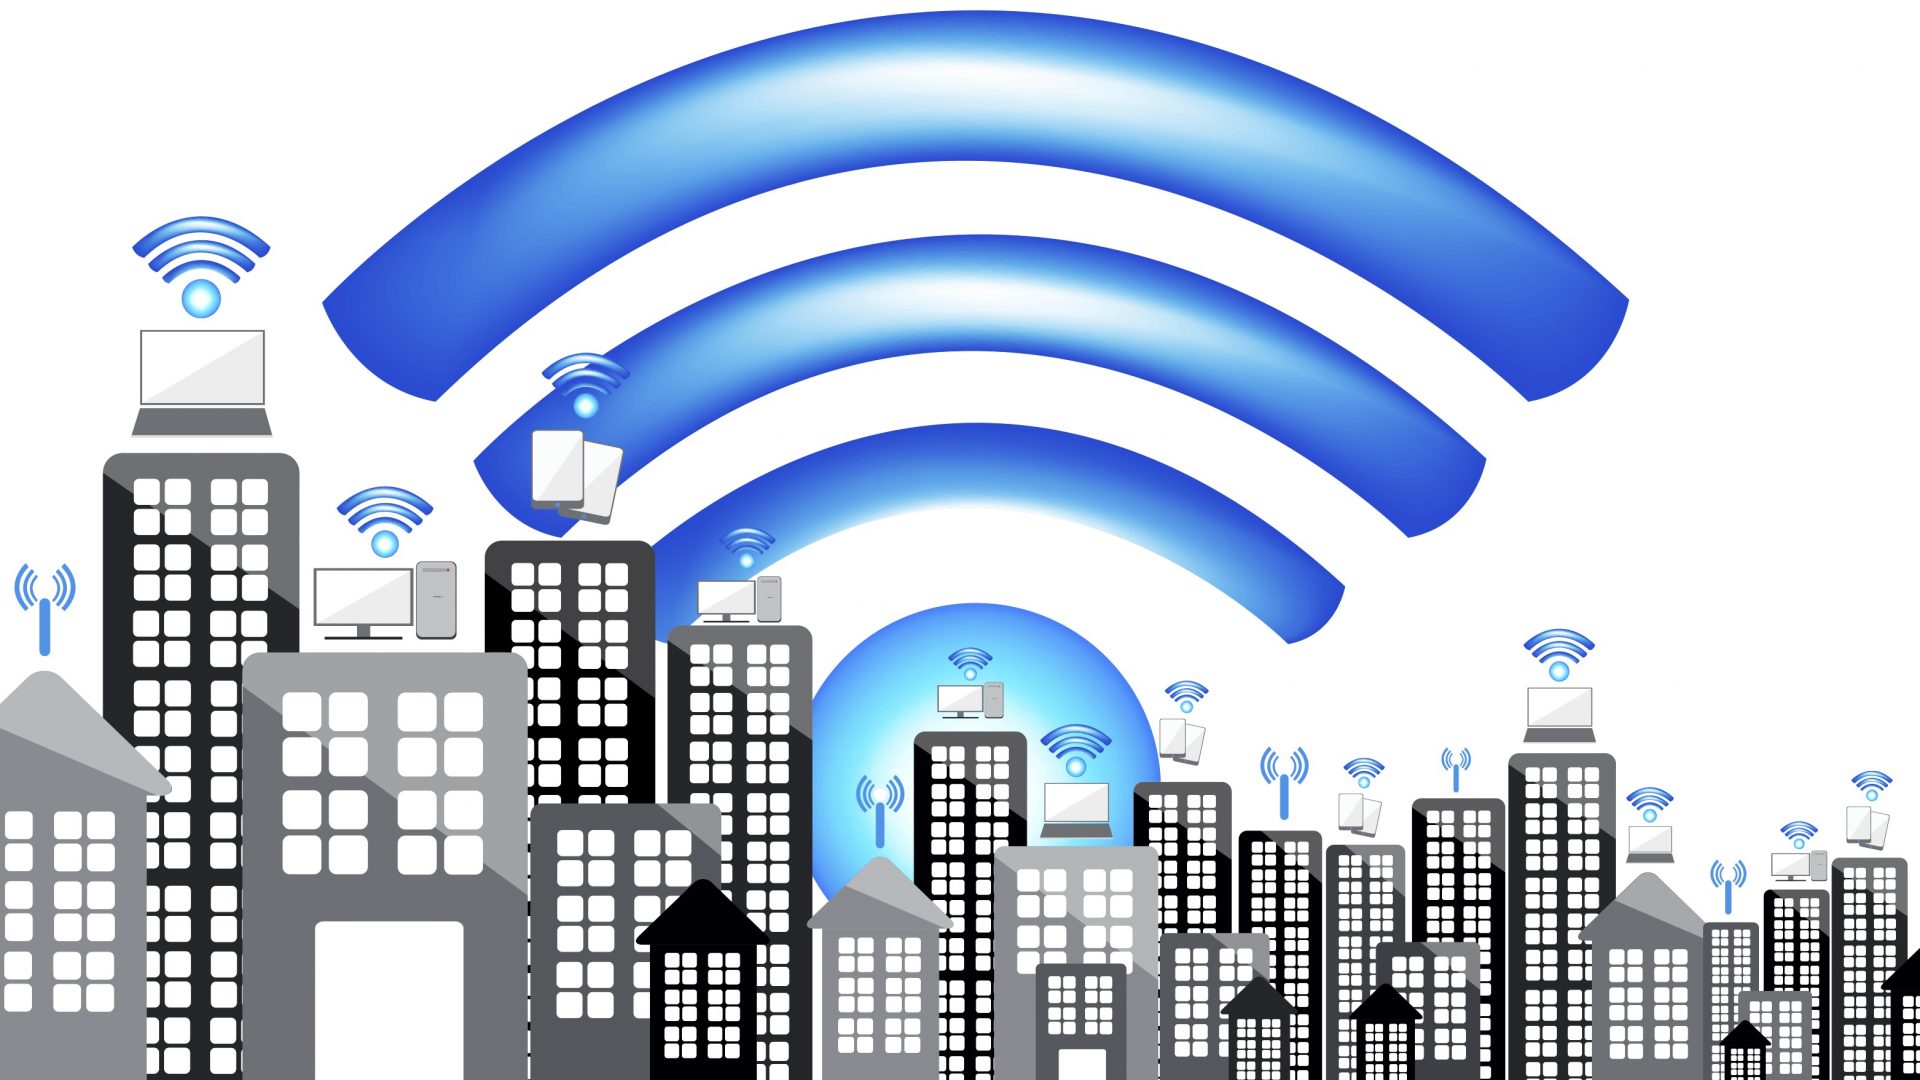
The days are gone when users were accessing the internet using their internet modem. But, internet modems are not capable of delivering the expected internet speed to the users, and that is the reason why they consider WavLink extender. This is one of the outstanding devices that have grabbed many eyeballs in short time already. if you are also greedy of getting more and more improved internet speed every second, consider installing WavLink extender.
Now, allow us to wrap up this article. We really hope that the instructions we have provided here to reset and set up the WavLink extender were easy and helpful. And, we also anticipate that after resetting and reconfiguring the extender, you are not facing issues with it anymore. Those annoying issues are left behind which have forced you reset your WavLink extender.