

If you’ve always wanted a spa-like bathroom, adding a rainfall shower head is a simple and inexpensive upgrade that might be the first step. Before you go out and hire a handyman to install a new shower head, consider a few factors about rain shower heads, the most important of which is the shower head size.
Installing a Ceiling-Mounted Rain Shower Head:
This kind of shower head is more difficult to install than a regular one, depending on whether or not you can reach the mixing valve and ceiling above it. Installing a new shower head if you have access to your shower’s mixing valve and the region above the shower’s ceiling is attic space should not be a problem. You can watch the YouTube user’s instructions for installing an overhead shower head in less than an hour and for less than $100 in materials in the video. To add an overhead shower head to your current shower, you can either hire a plumber and a contractor or do the installation yourself by following these easy steps:
- Remove the sheetrock, tile, and backer from the shower mixer valve wall.
- To regulate the overhead rain shower head, you may use the existing tub spout or the pipe going to the wall-mounted shower valve, but it’s up to you which one you want to use.
- A diverter valve must be put between the mixer valve and the wall shower head to link the overhead shower head to the mixer valve.
- To connect a pipe to the mixing valve, you must run a pipe up through the wall plate above and into the ceiling region, then across to where you want to put the shower head. PEX is the most user-friendly pipeline material for do-it-yourselfers due to its flexibility, ease of cutting, and Sharkbite compression fittings pushed into the pipe. The Sharkbite fittings are compatible with a copper pipe if that’s what you want.
- Showerheads may be attached to pipes above the shower using a Brass Drop Ear Elbow. Using screws that go through the holes in the elbow’s ears, attach it to a ceiling joist or a 2×4 crosspiece.
- The system should be tested for leaks once all connections have been made. Covering the wall and ceiling should be done only after that.
- Reattach it to the ceiling where the drywall had been removed. Before putting on the joint compound, put on tape. After you’ve applied a few coats, sand the surface until it’s smooth, and then prime and paint the piece as desired.
- Install a new backer on the wall and reapply the desired surface, whether tile or another material.
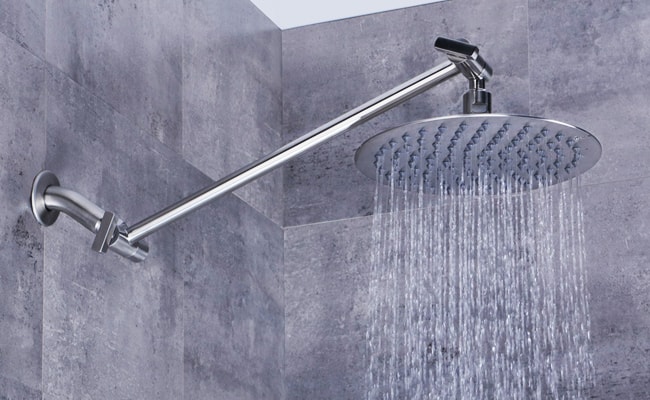
Recreate a Rainshower Effect With Your Existing Shower Head:
To begin with, rain shower heads have far greater diameters than ordinary ones, making them ideal for larger bathrooms. The width of a rain shower head may vary from six to twelve inches since it is meant to spray water over your whole body, simulating the feeling of being in the rain. Make sure that if you aren’t planning on changing your shower stall or bathtub, your new, larger shower head doesn’t flood the floor when turned on. Therefore, before putting in the new shower head, ensure it fits correctly. The height of rain shower heads may potentially provide a concern. Showers with rainfall heads are usually put on ceilings so that the full effect of the shower may be appreciated. If you’re willing to reroute pipes for this layout, ensure your shower stall’s ceiling is high enough.
Conclusion:
The vertical pipe behind your shower’s wall may be used for a rain shower head. Installing a shower arm with a 90-degree angle allows you to keep the shower head level with your head while using the shower. In response to the rising popularity of rain shower heads, more people are now converting regular versions of these shower heads to rain show heads. To ensure that you have enough room for your new shower head, you must check to see whether you have enough room for the 90-degree turn in the arm. While it may be more difficult to raise the placement of your wall-mounted shower head, installing a ceiling-mounted one will be less disruptive to your bathroom space.