

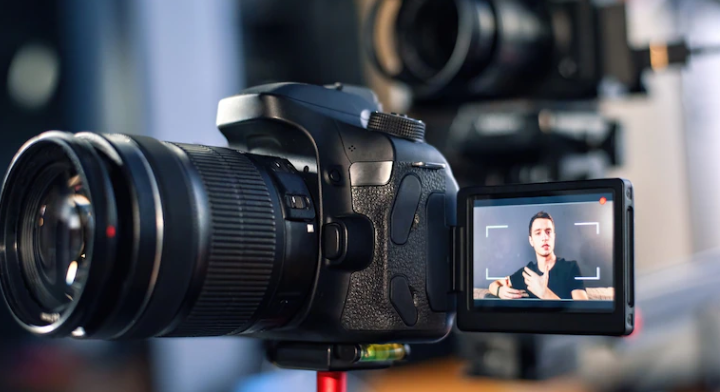
Ever wondered how to create a video of your desktop or just one window? Computer users know they can take photos using their built-in webcam. But if you want to capture what happens on your screen, you’ll need some Screen Recording software. This article will give you the basics of how to use it.
Record the entire screen:
You can use this feature to record the entire screen, including all windows, applications, and any other elements that are open on your desktop. This includes the taskbar and desktop icons.
Few programs allow you to save your videos as MP4 files so you can easily upload them to YouTube or Facebook for sharing with others.
Record a portion of the screen:
To record a portion of your screen, you can use the mouse to click and drag to select an area and then click the record button. This will start recording just that specific section.
When you’re done recording, click again on the stop icon in your toolbar or press Ctrl+S (or Command+S on Mac) to stop recording. Your recording will appear in your video editor, where you can trim it and add effects like slow motion or black bars at the top and bottom of the screen.
Record a single window:
It lets you record a single window. To use the screen recorder, you’ll need to open the application and select the area of your screen that you want to record. This could be your browser window or desktop, for example. Alternatively, if you want to record your entire screen, select “screen” from the dropdown menu.
You can also customise how much of your screen is recorded by adjusting its dimensions in terms of height and width. You may wish to expand it up to full-screen so that every piece is visible without interruption from toolbars or other apps in use on your computer during playback—but keep in mind that this will take up more space on devices when it’s done recording!
By default, there will be no audio associated with recordings unless otherwise specified within settings beforehand; however, there are options available if needed, such as microphone volume control (which will allow users better control over what they hear while watching videos). If desired, then users could even choose between multiple audio sources, including cameras attached via USB devices such as webcam(s) used during sessions where multiple items would normally be connected at once, such as microphones together with speakers/headphones plugged into monitors, etcetera.
It’s easy to create accurate video recordings of your desktop:
It’s easy to create accurate video recordings on your desktop. With this software, you can record the entire screen or a portion of the screen. You can also record a single window, like Google Chrome or Microsoft Word. In addition, by adding audio and video to your recording, you ensure that nothing is missed when you share it with others later on.
You can trim your recording and add effects before sharing it with others as well; for example, if you have an animated GIF that illustrates an important concept in one of your presentations, but it isn’t long enough at 2 seconds long, then use screen recording software allows users to extend how long they want their GIFs without losing quality through editing them out manually or having someone else edit them out digitally after they’ve been created!
Conclusion:
Now that you know how screen recording software works, I’m sure you’re ready to go out and start creating videos about your new favourite app or game. What are some of the best examples of screen recordings you’ve seen?